Don’t you just LOVE ghee? This guide features pictures from my 2nd time making homemade ghee; it’s very easy, so tasty, and nutritious!
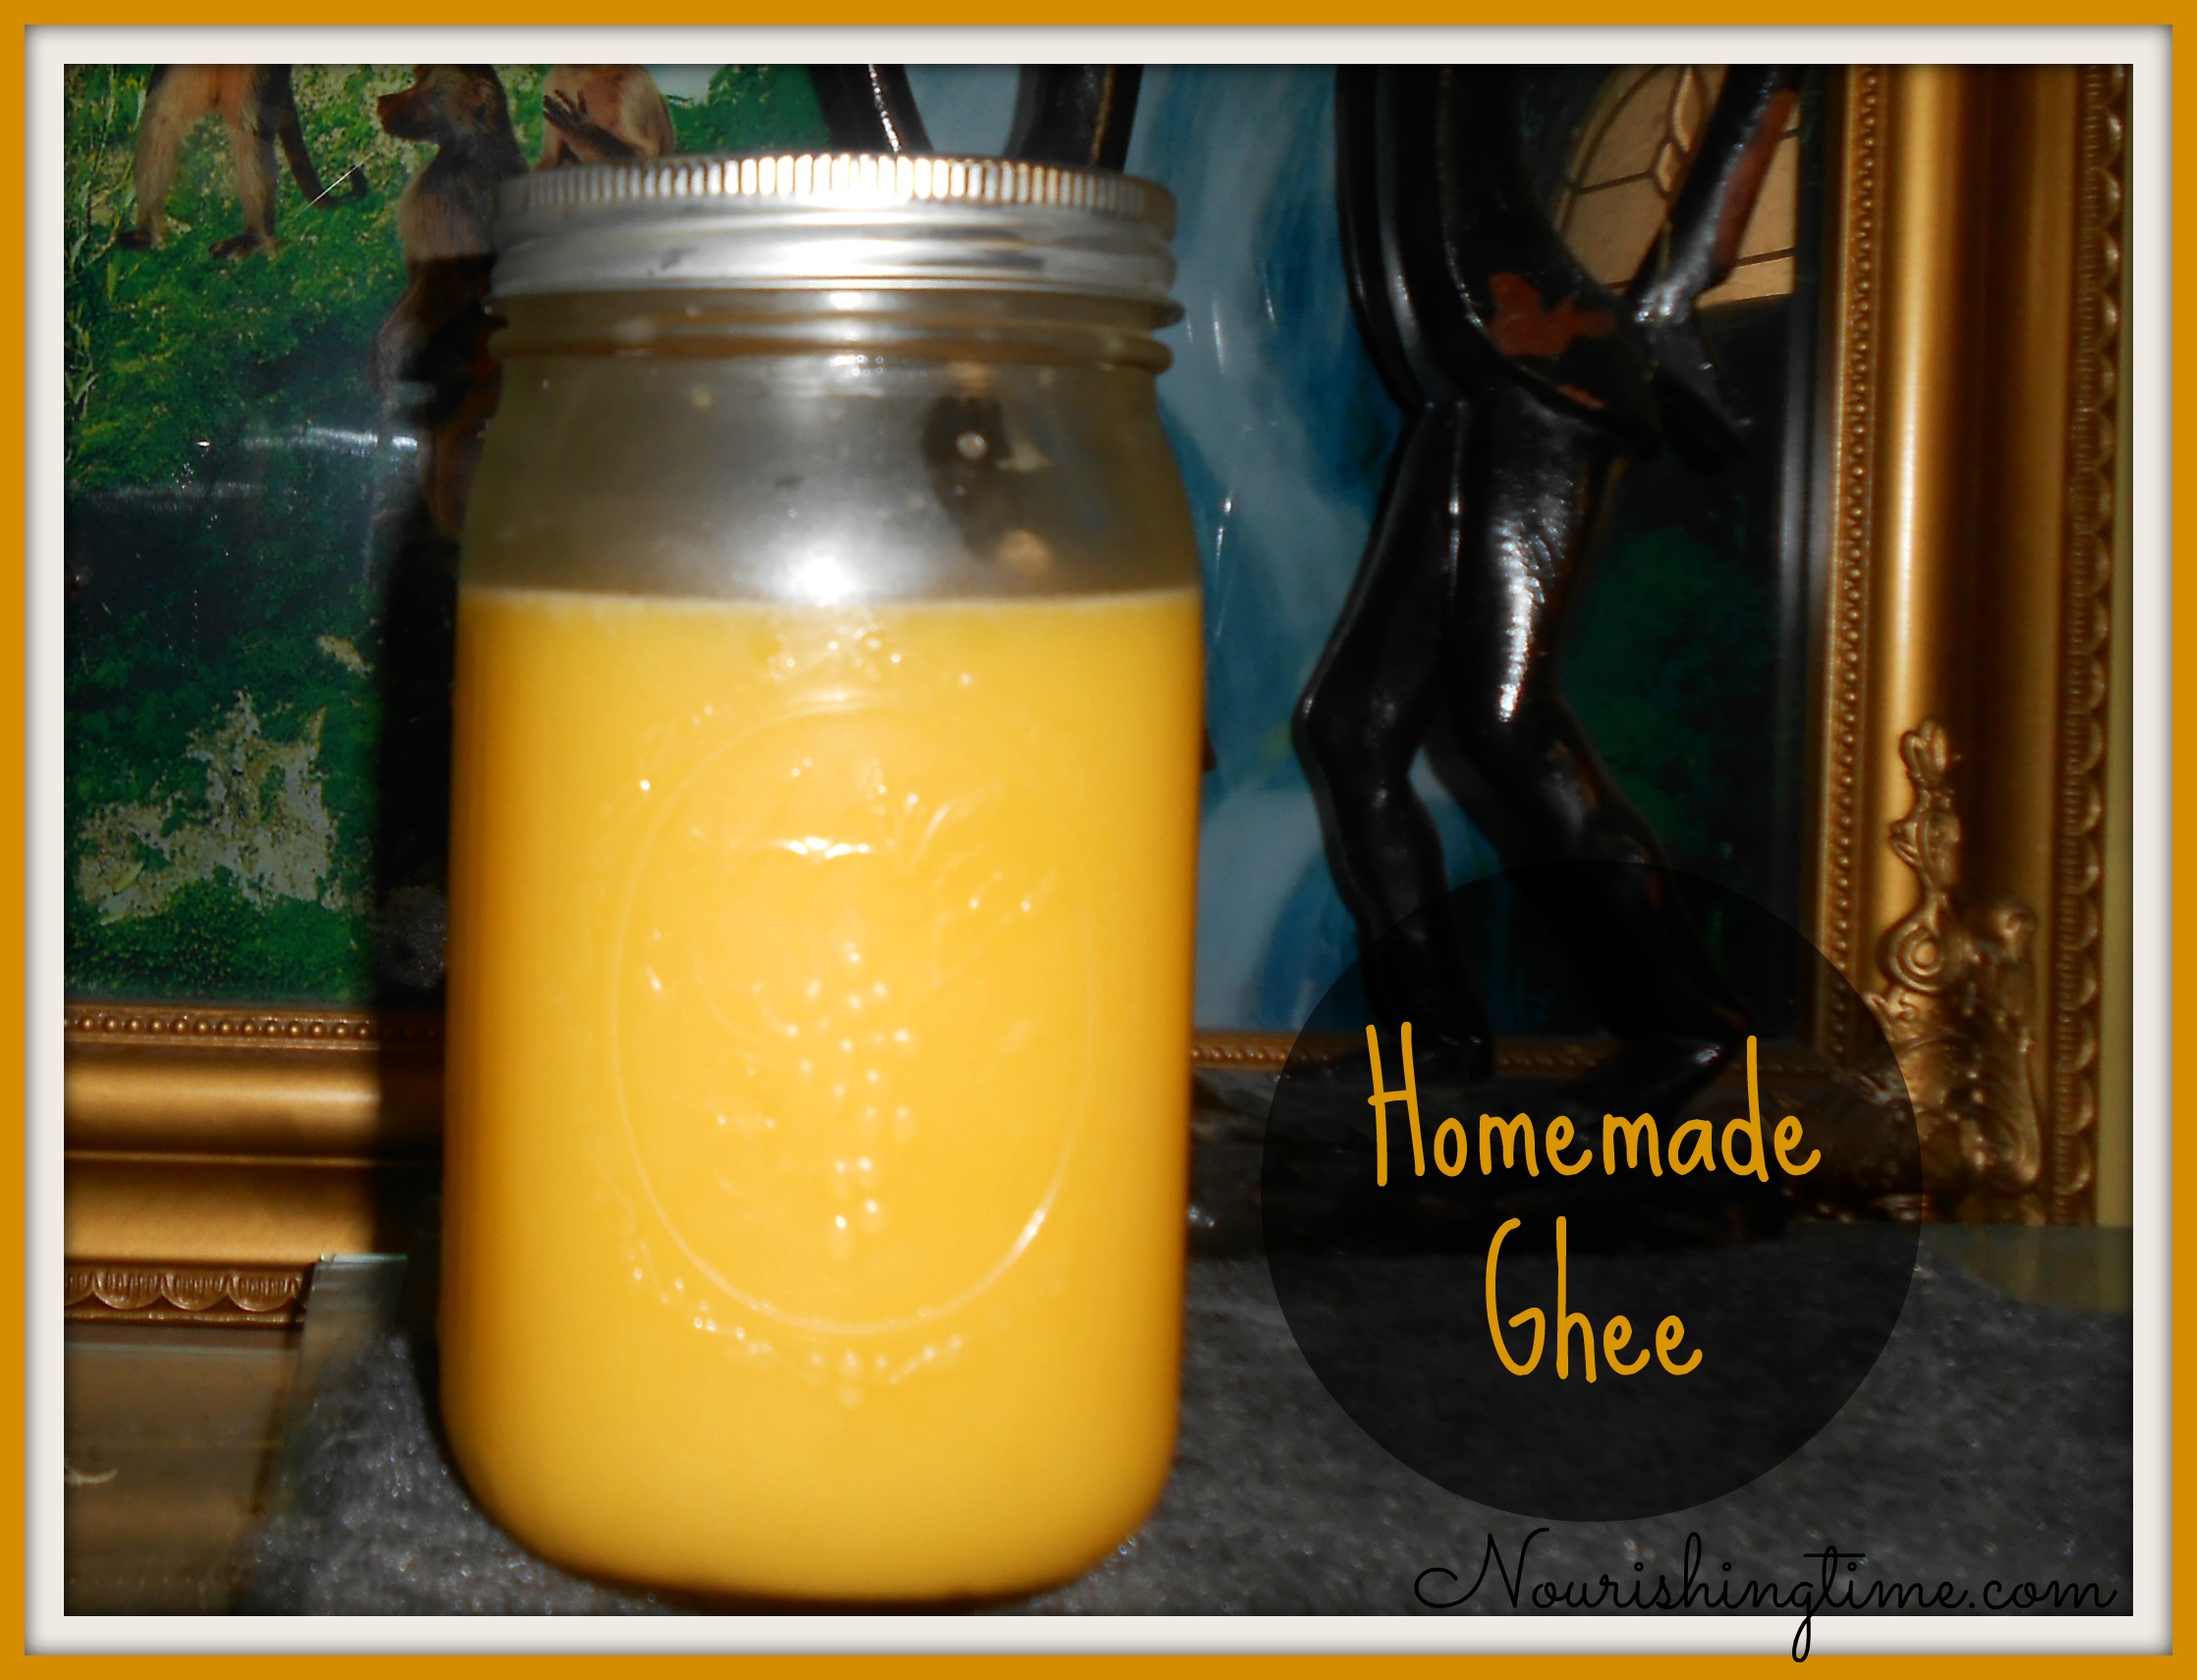
If you don’t know, you’re probably wondering… “What is ghee?“. Ghee is a pure fat that has many benefits.
Aside from being a great oil to cook with due to virtually having no water or milk solids in it unlike butter, it has a very nice flavor–I call it popcorn butter!
It tastes so good with broccoli or squash or…pretty much anything!
Benefits of Ghee
Ghee is full of antioxidants and the fat-soluble vitamins A, D, E and K2. It is a good source of CLA and essential omega fatty acids.
It helps support healthy detox and of course is a great source of saturated fat and cholesterol, which is so necessary for proper brain development, and even hormone regulation/fertility.
It has a longer shelf life than butter, lasting for several months at room temperature and a year or more in the fridge! My house is very warm, often 80o or higher, so I do keep it in the fridge.
It would probably last forever but we go through it quicker than butter because we love the flavor so much. My son loves to eat it plain!
Making Ghee from Unsalted Butter
You can learn how to make ghee from unsalted butter at home with these easy steps. But first, you’ll need some additional supplies:
- Wood spoon
- Stainless steel fine mesh strainer
- Butter muslin
- Mason jar
1. Melt
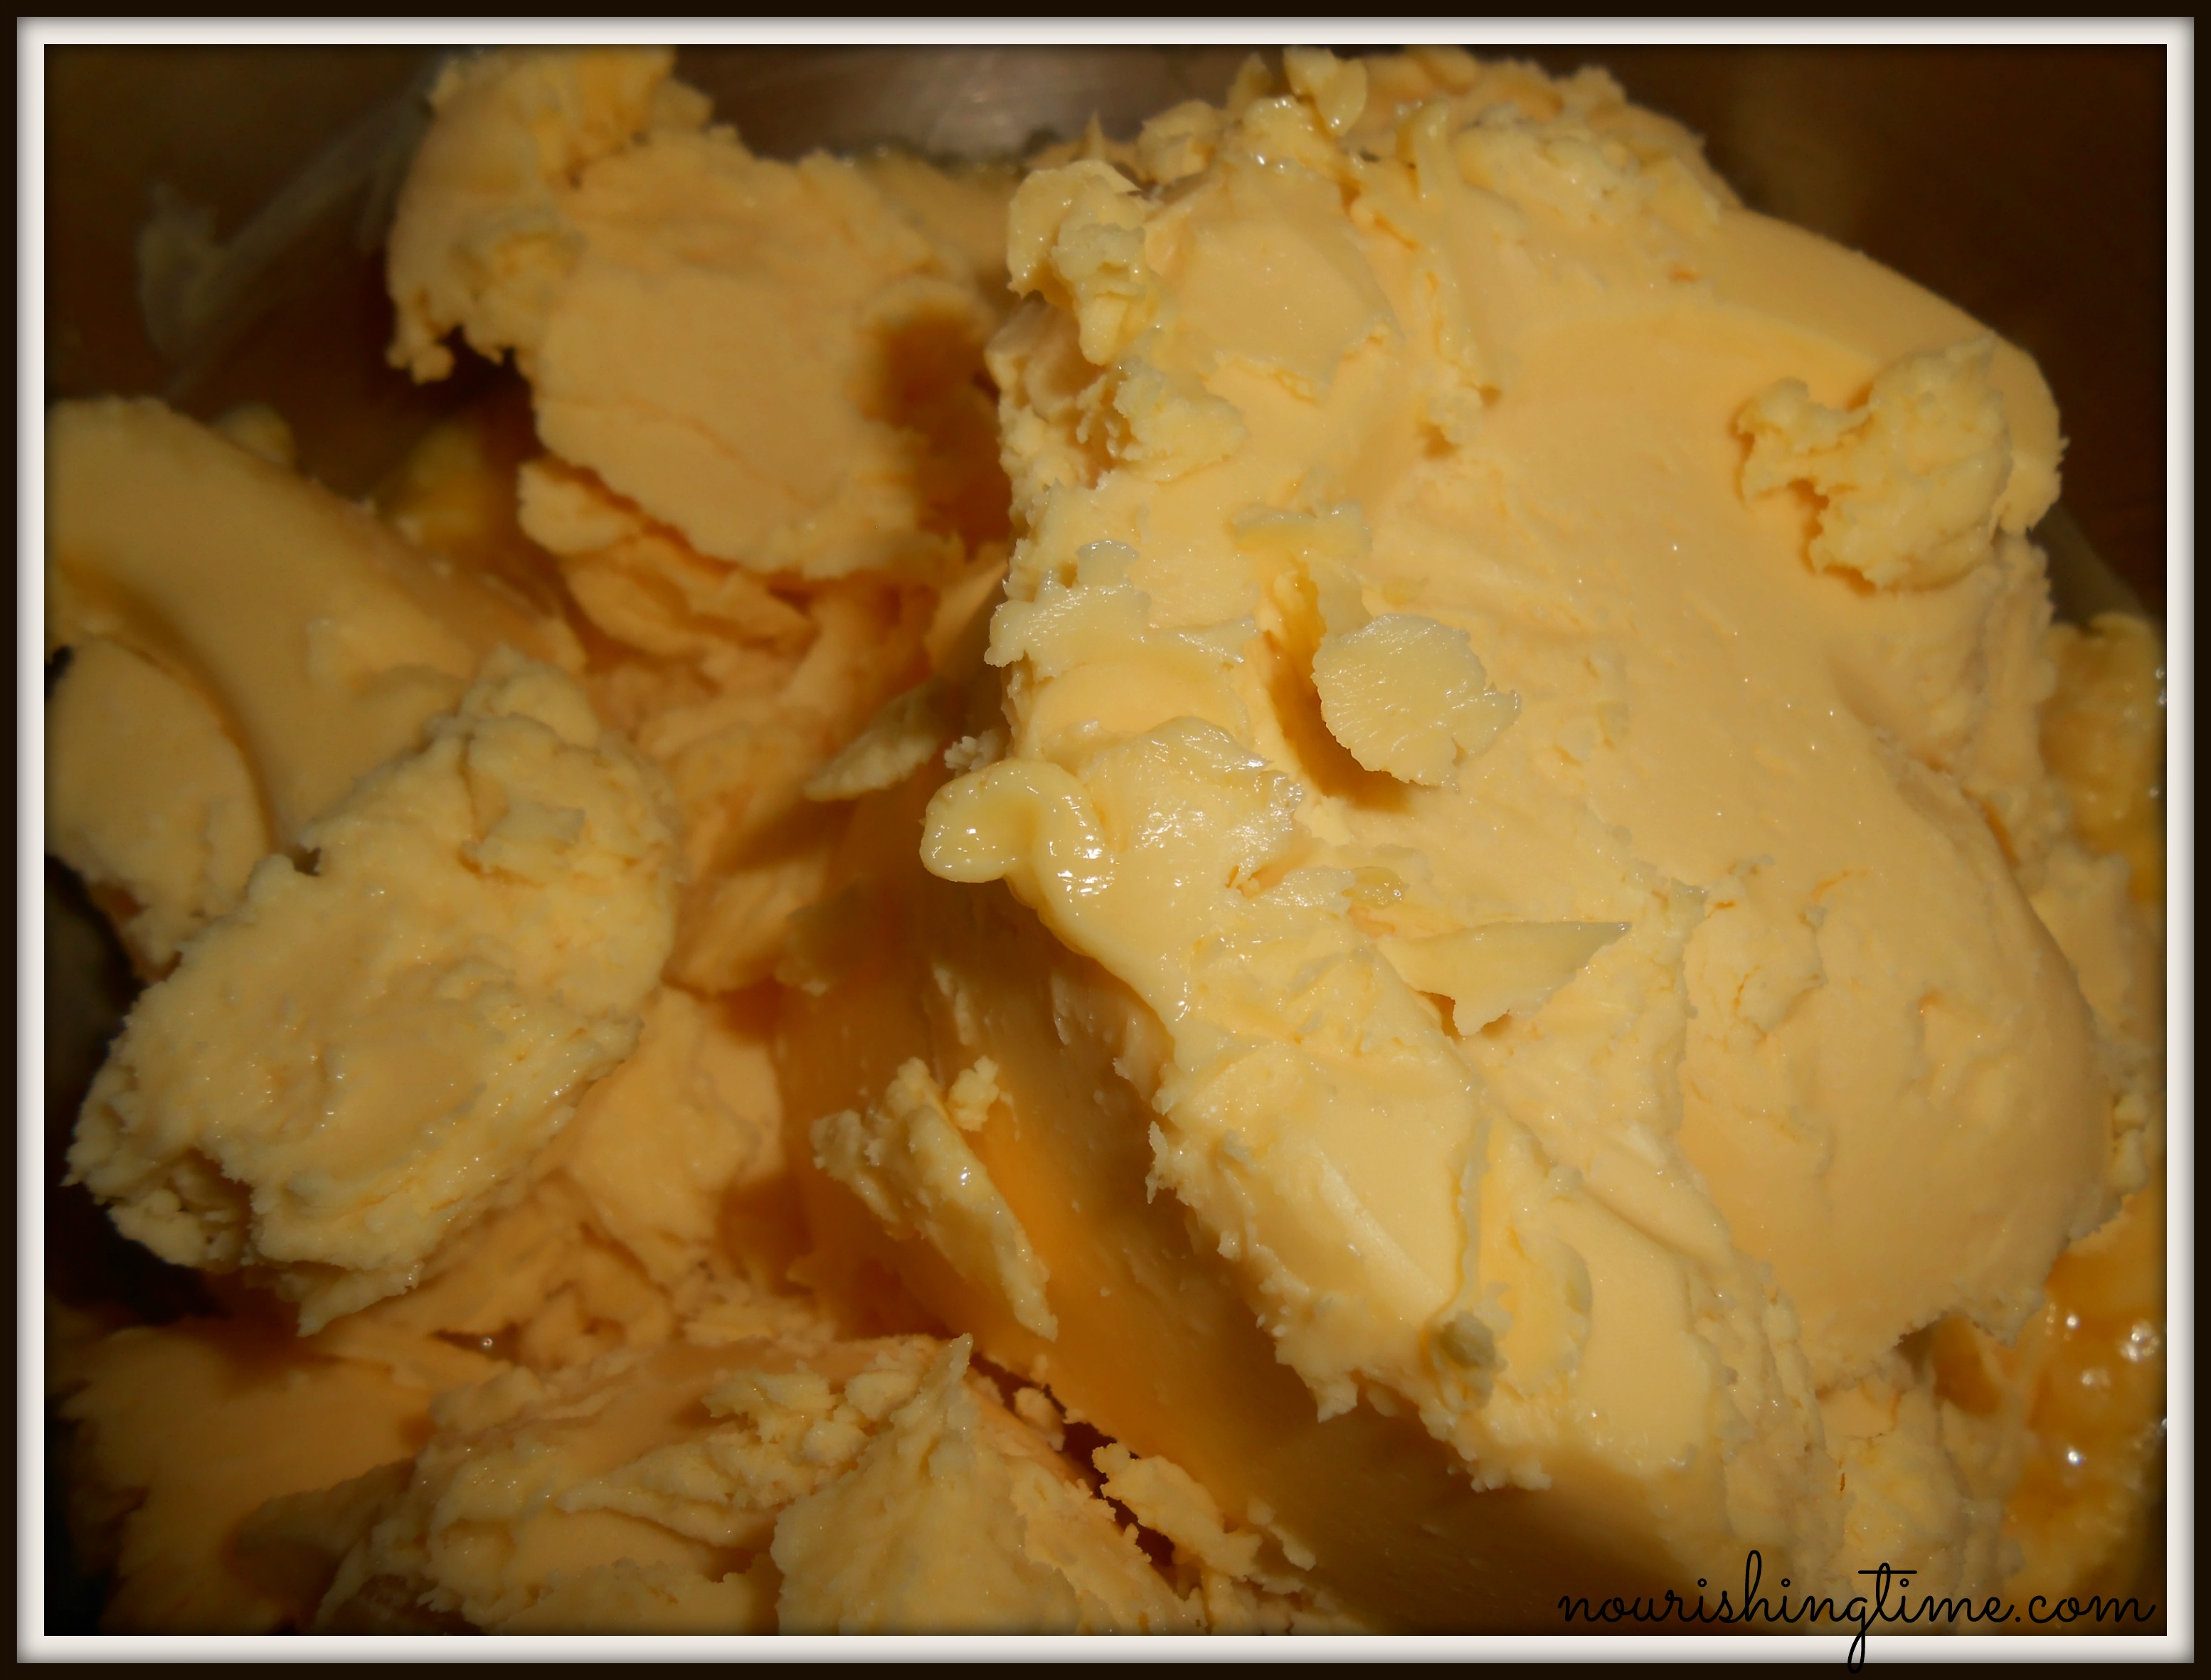
Put the butter into a pot on medium-low heat.
2. Boil
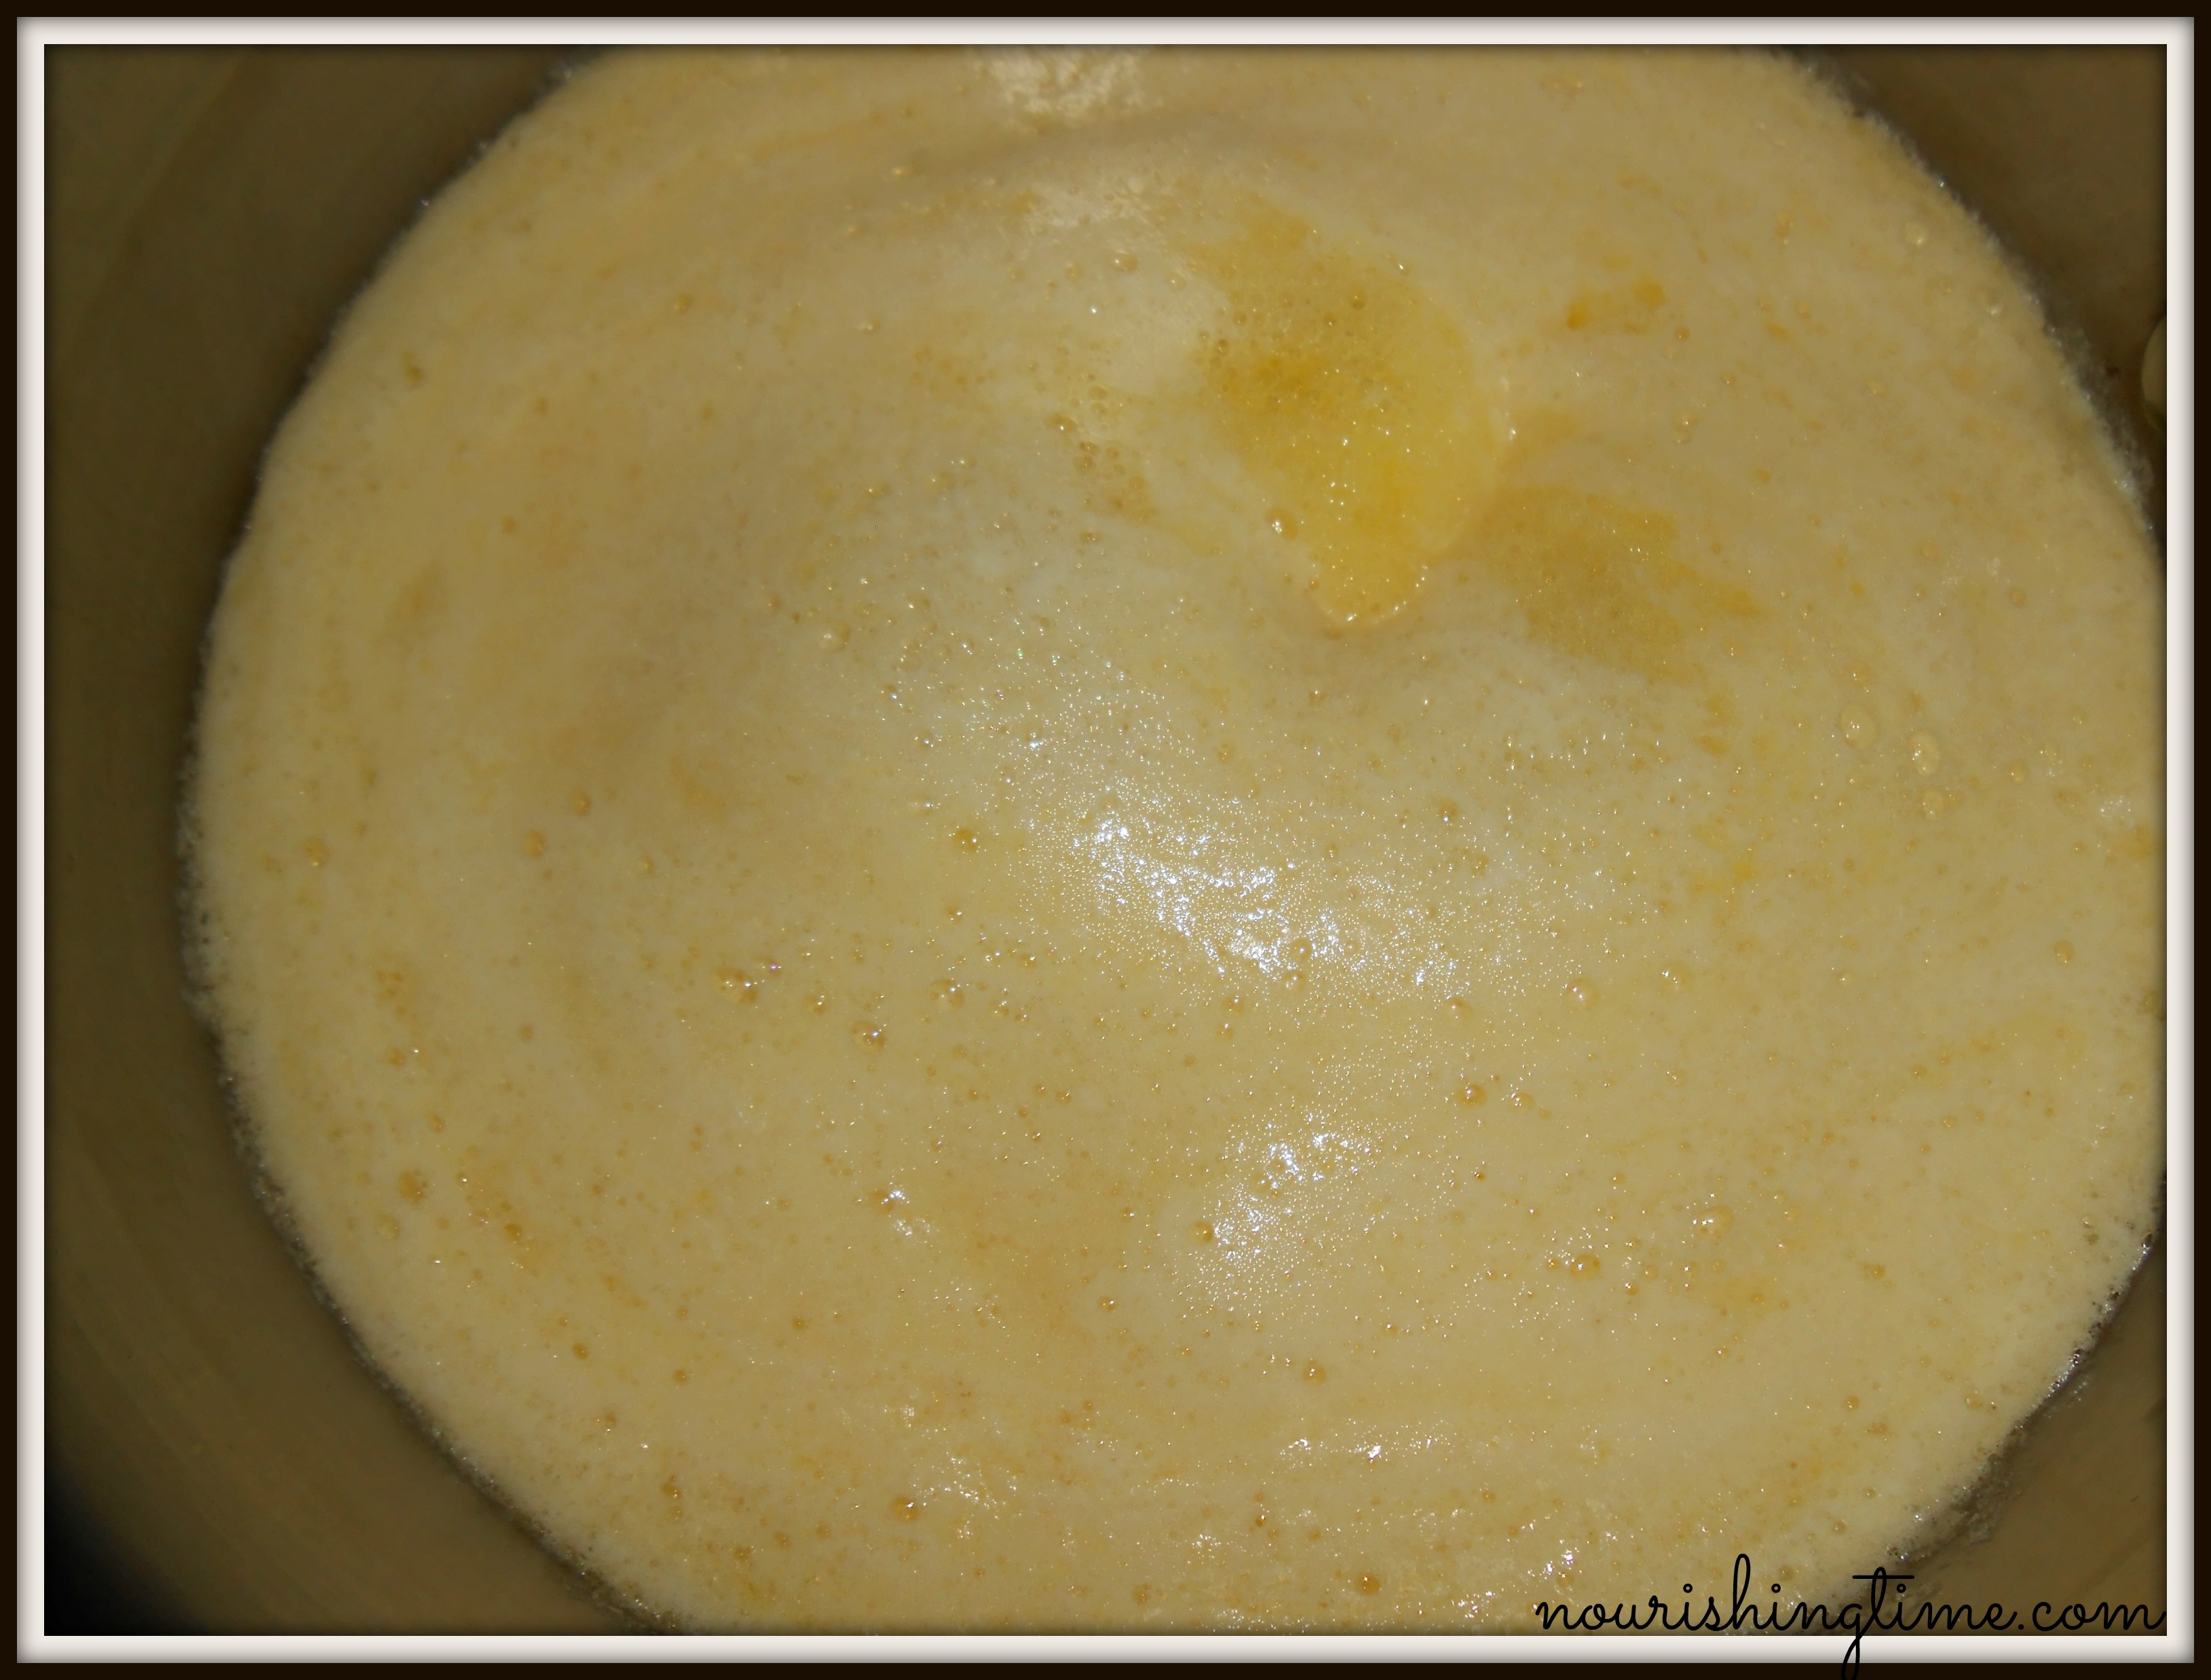
Let it come to a boil and start foaming (but not so much that it’s splattering out!).
3. Skim
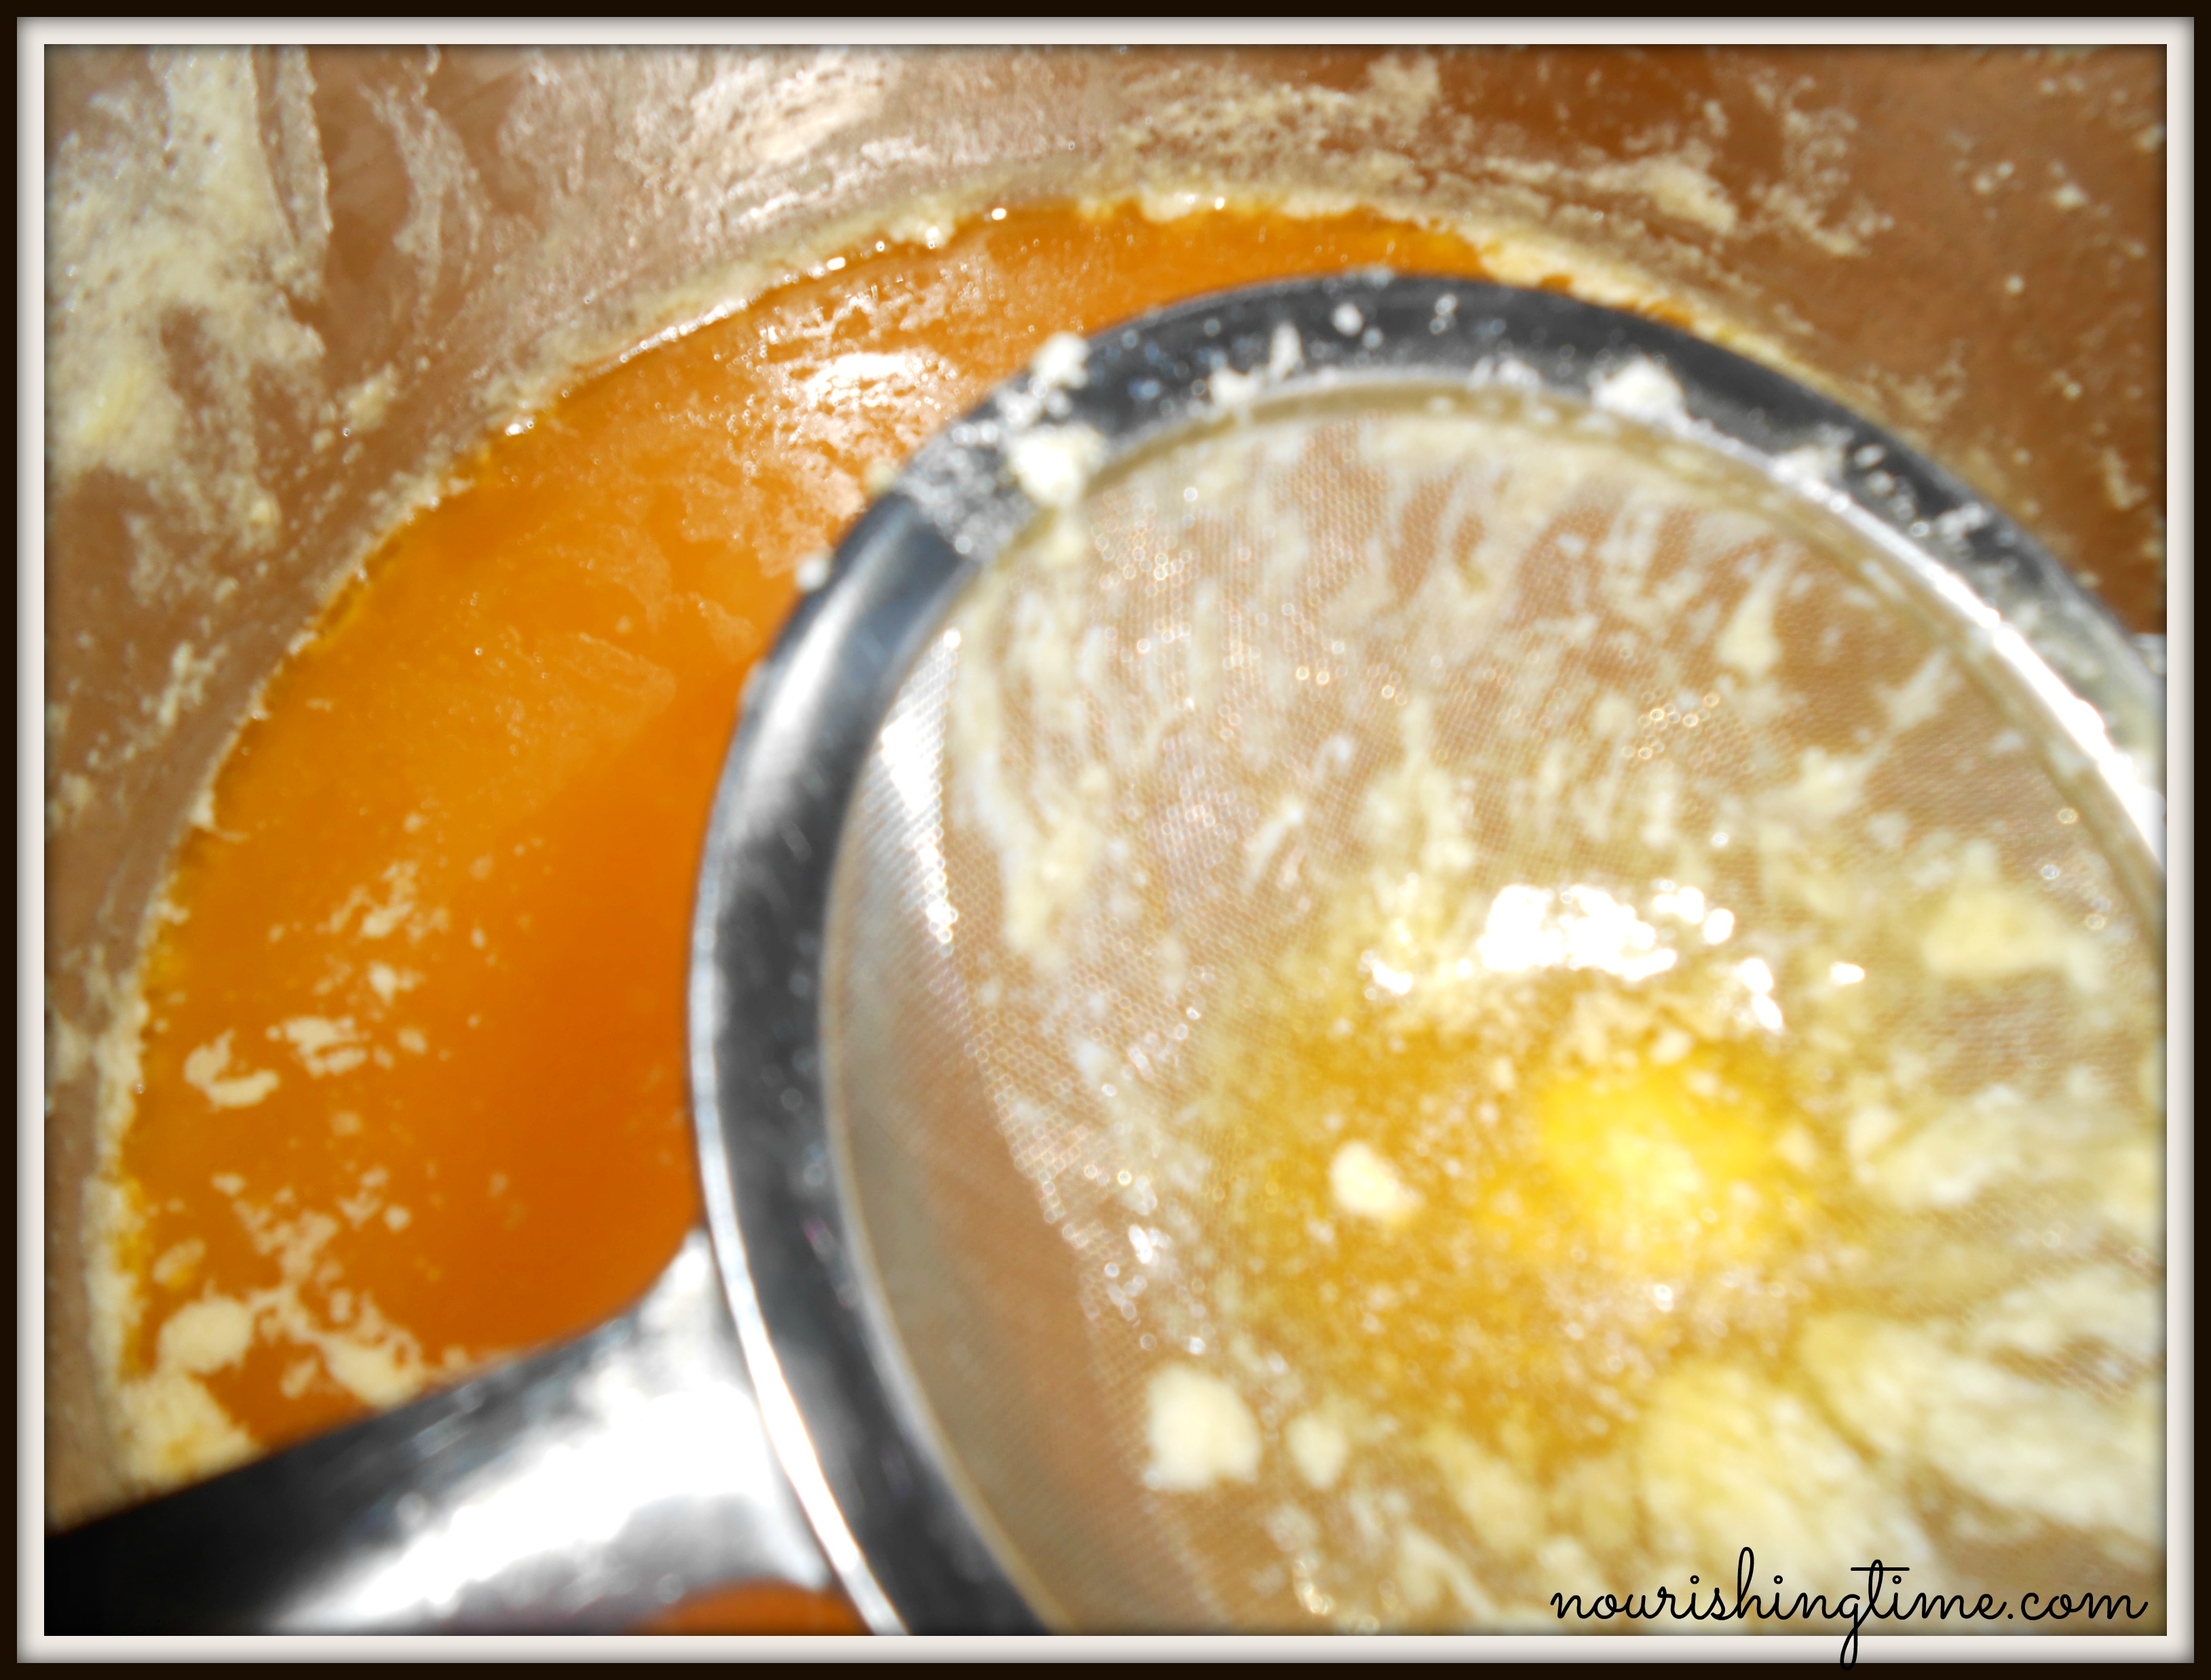
Skim, first with a wooden spoon then you can try a fine mesh strainer.
4. Watch
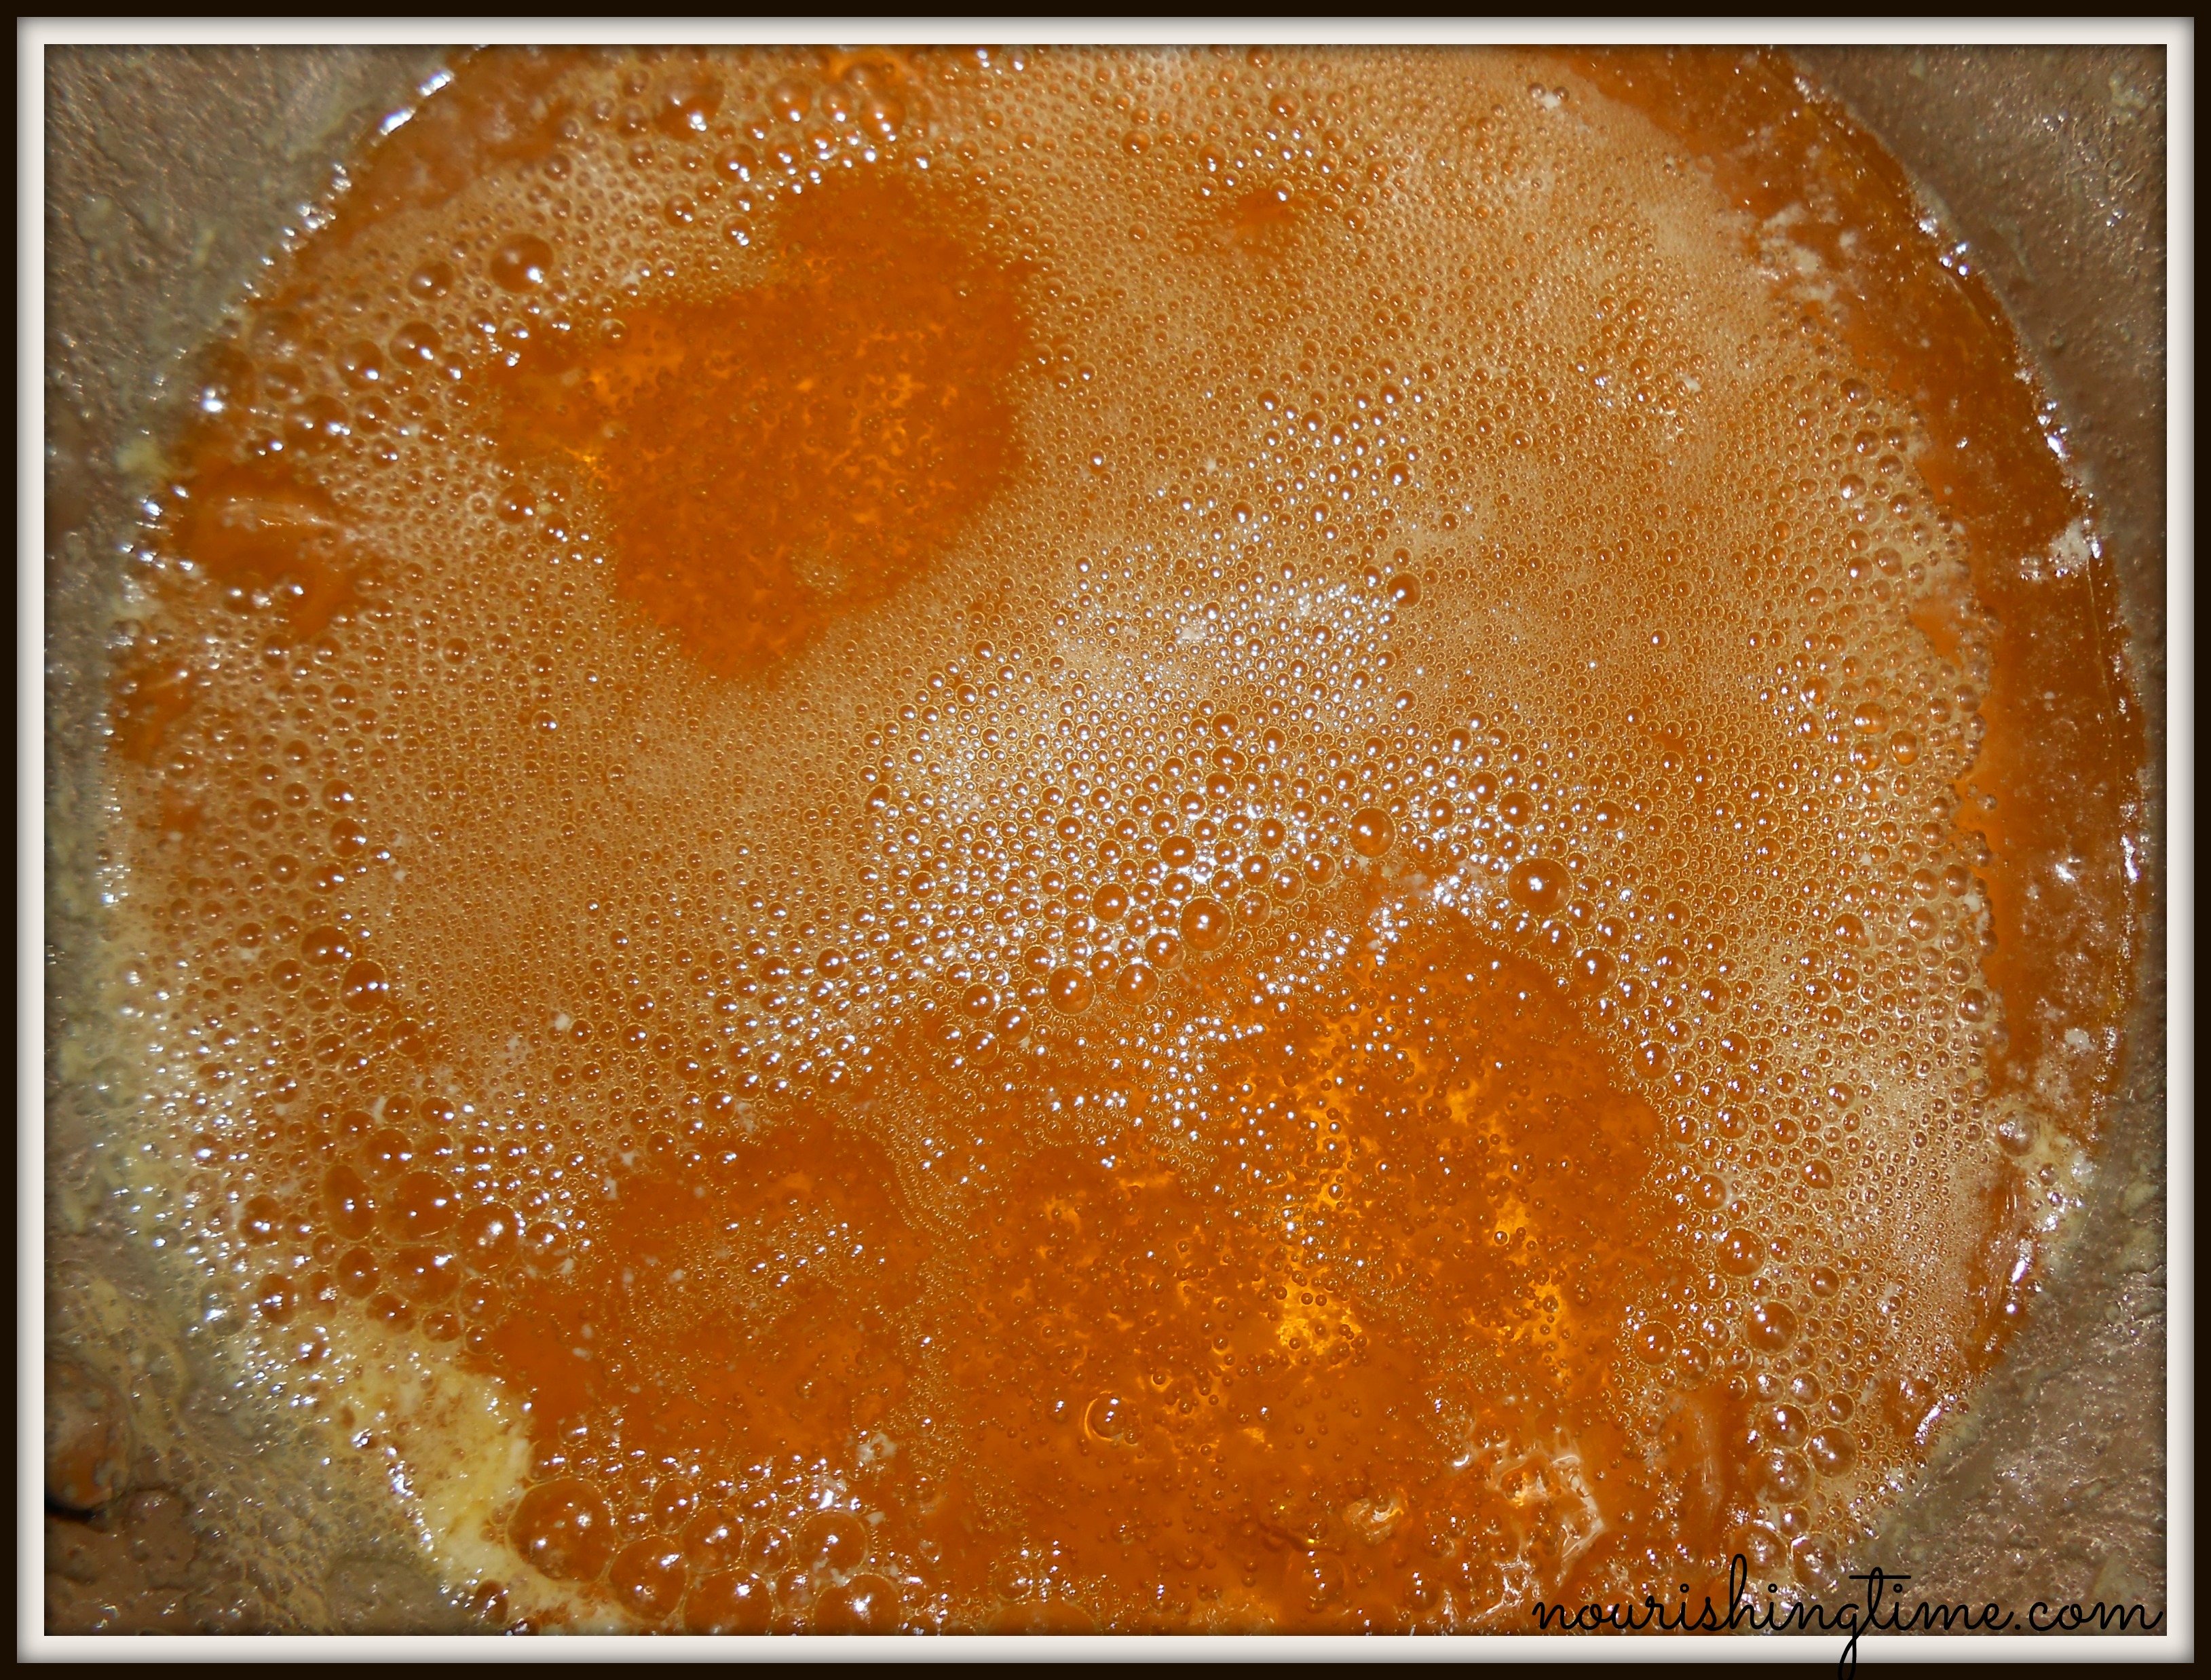
Getting close to straining time, you can almost see browned bits at the bottom.
5. Ready?
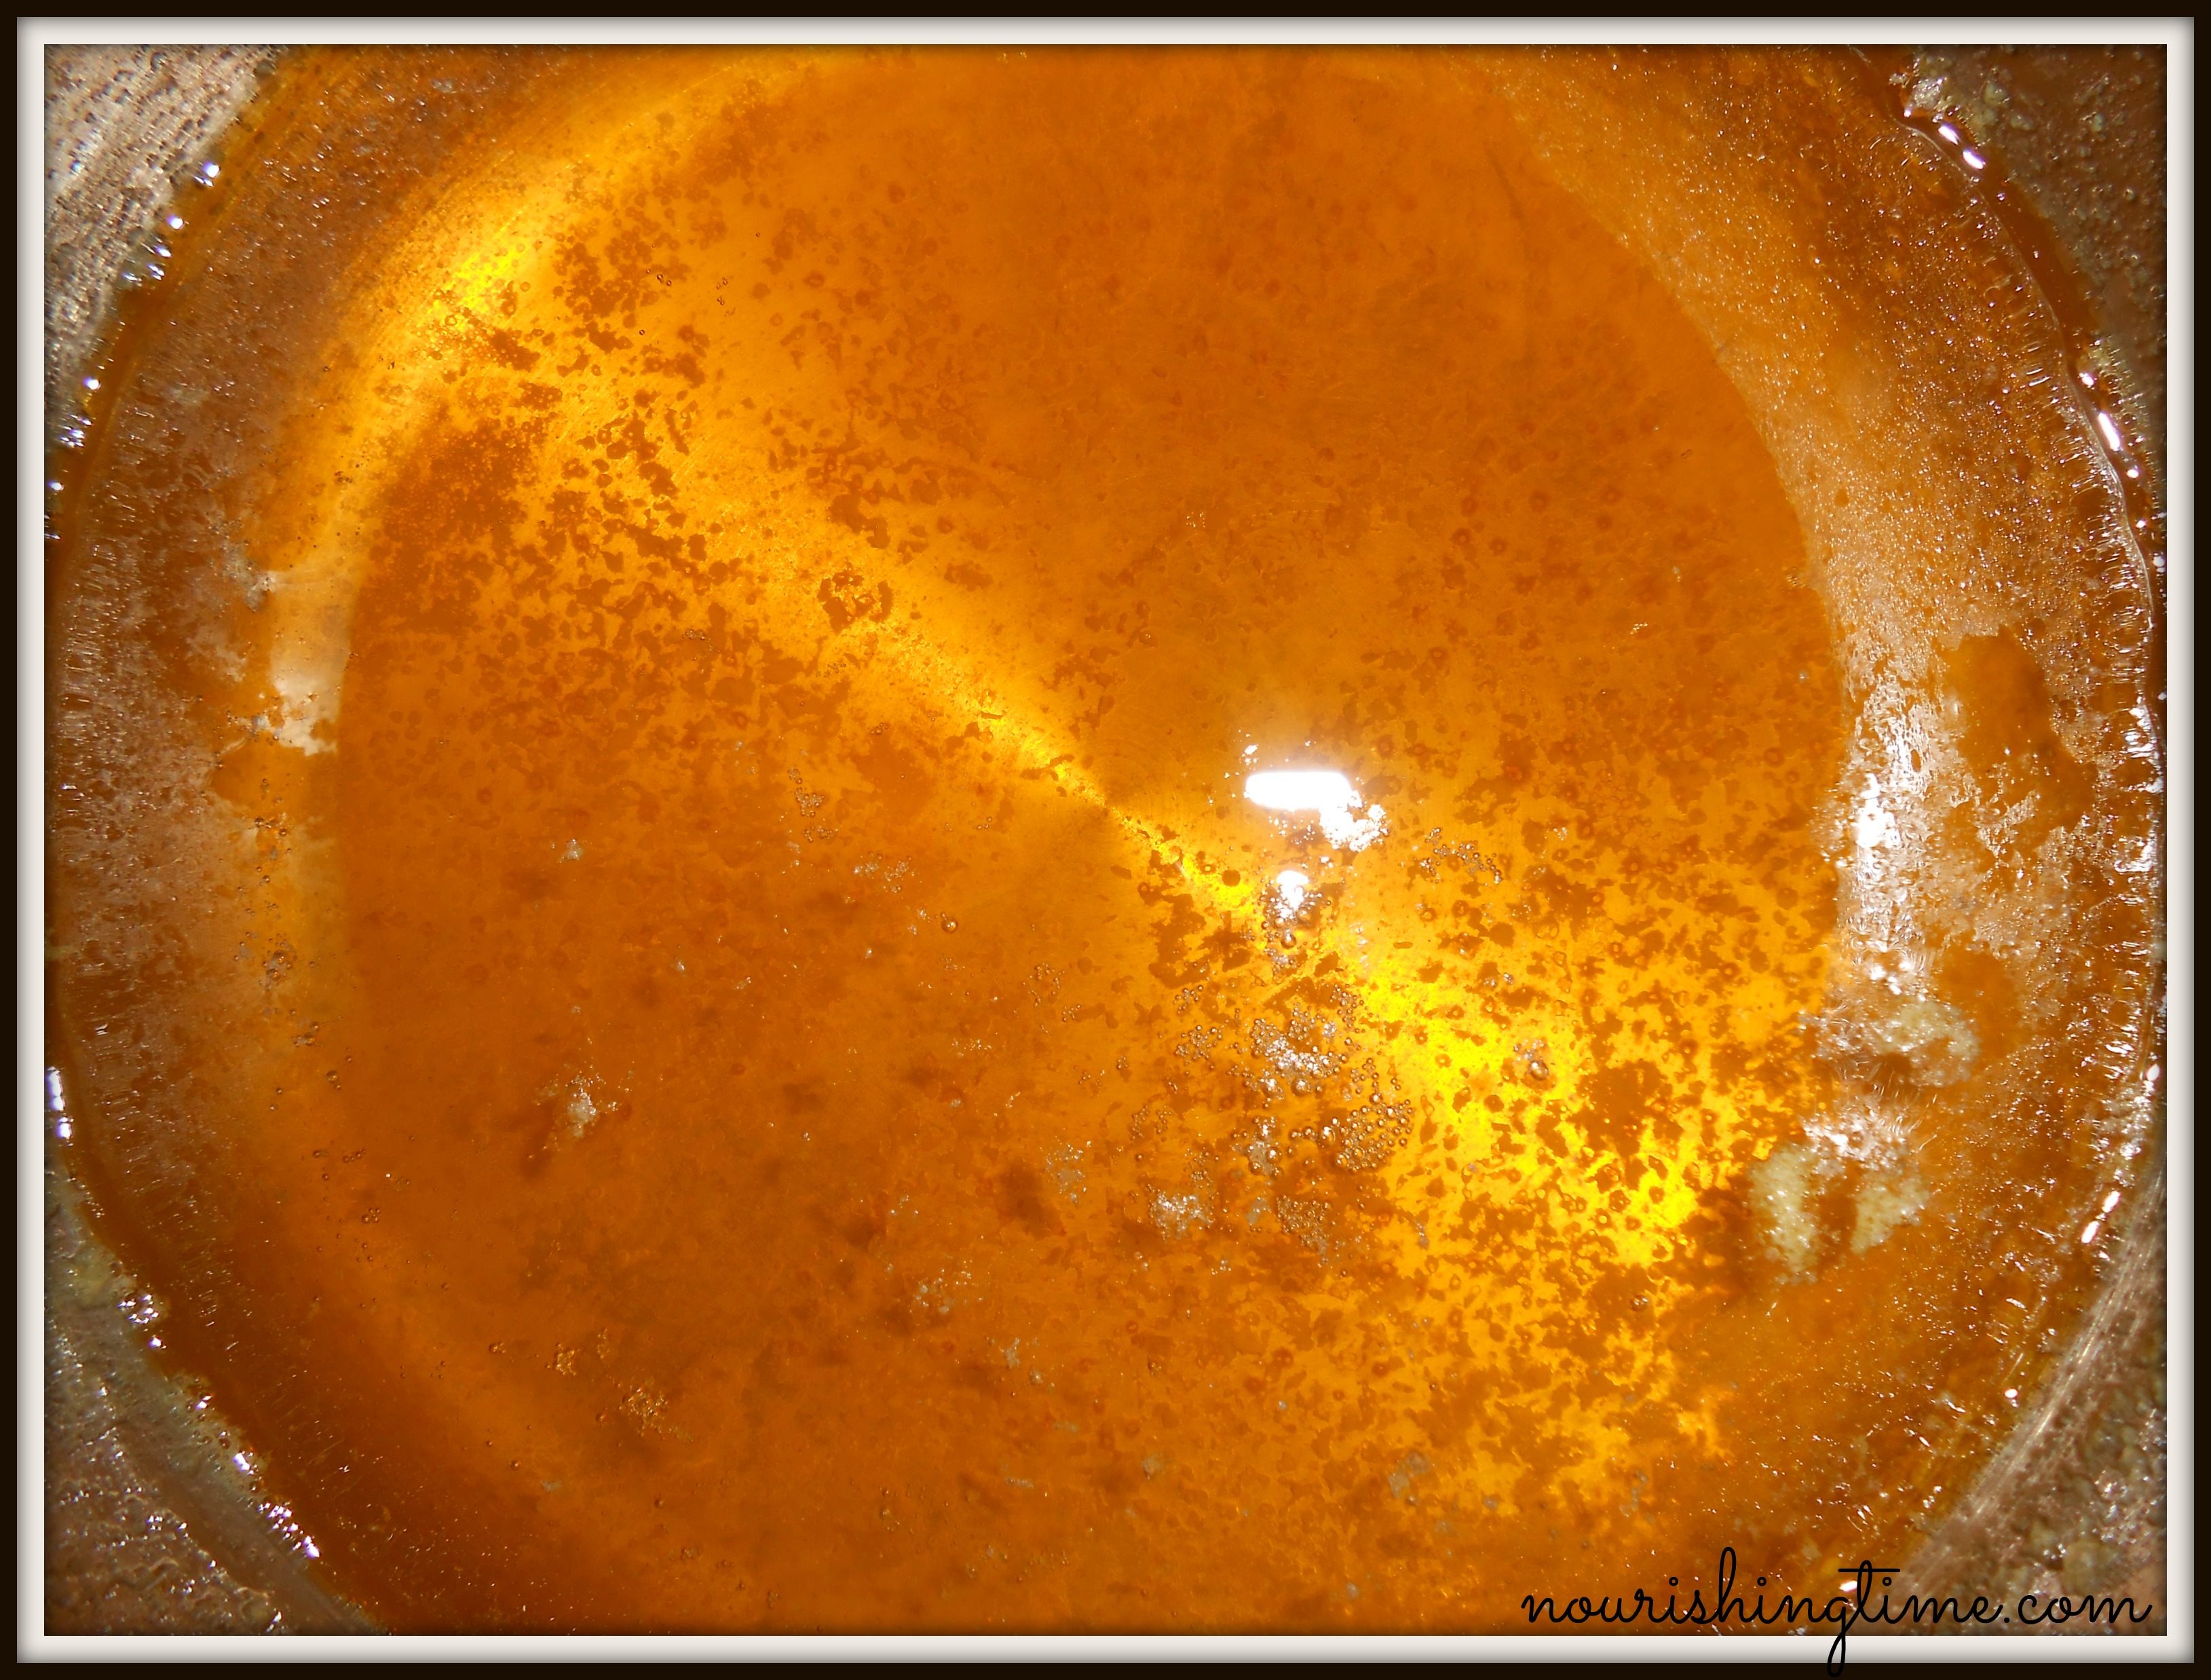
Ready to cool and strain.
6. Set…
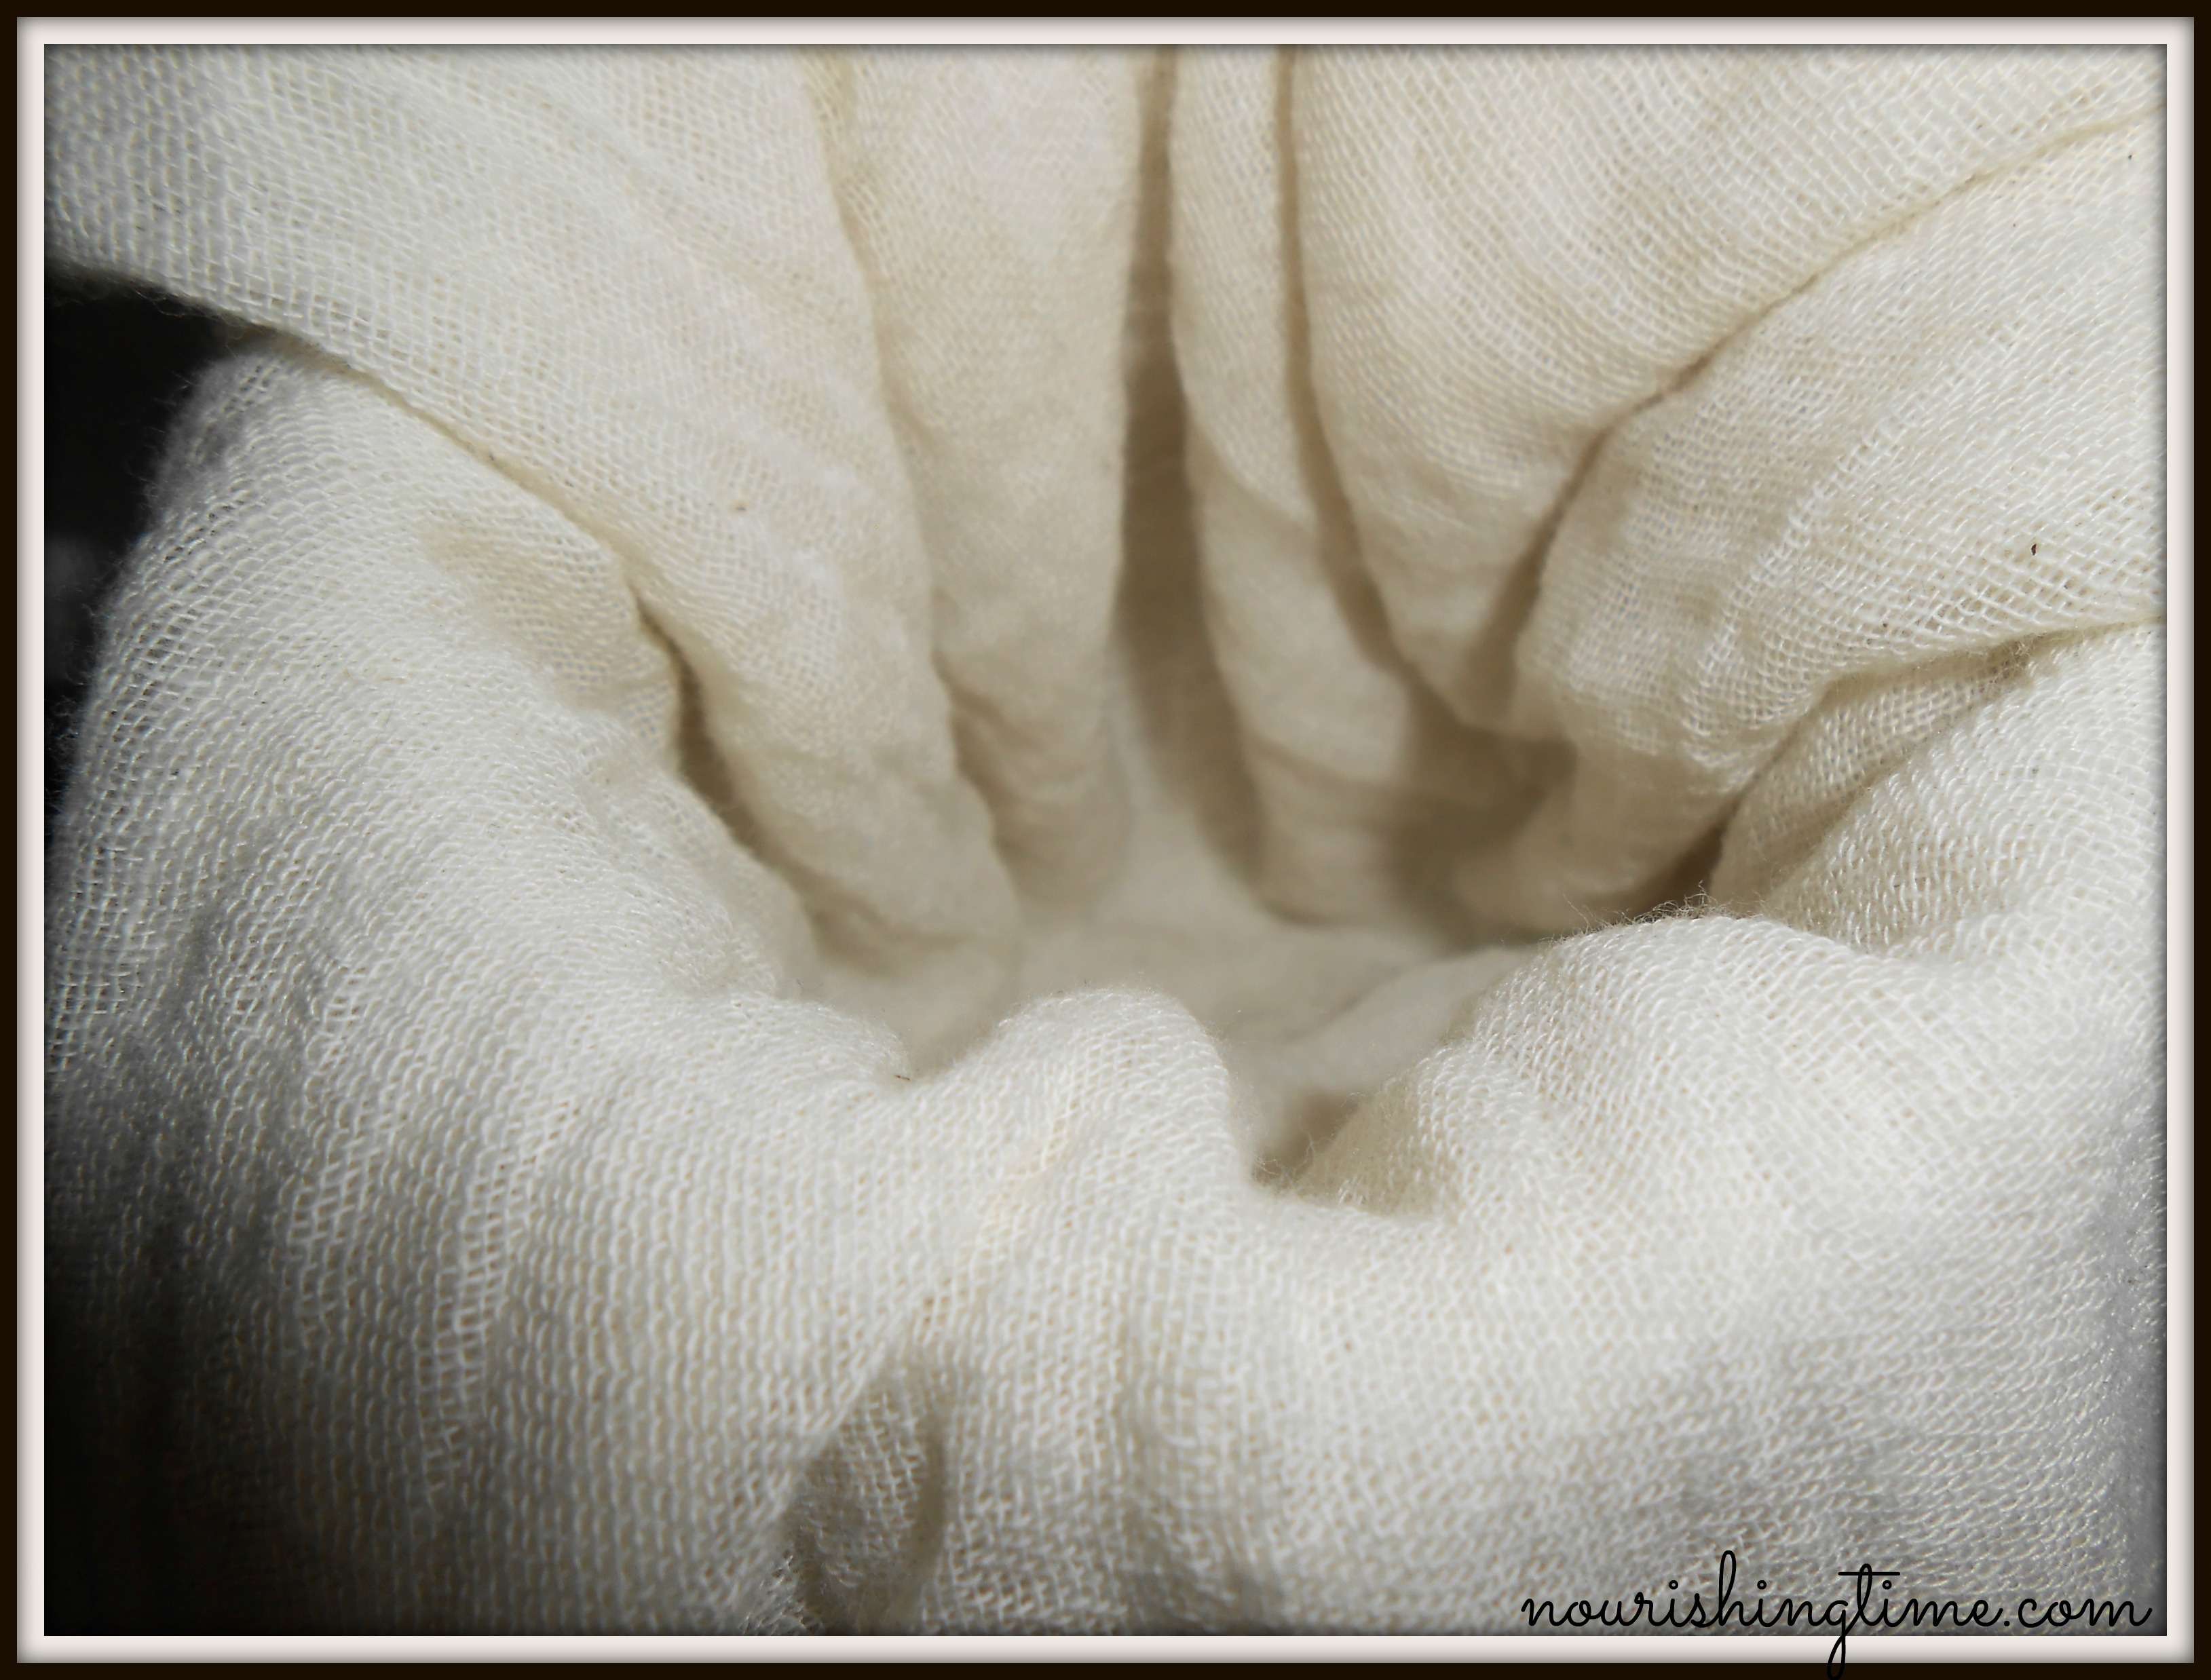
Drape something fine-meshed into jar (or over a strainer over the jar). I’m using butter muslin.
7. Go!
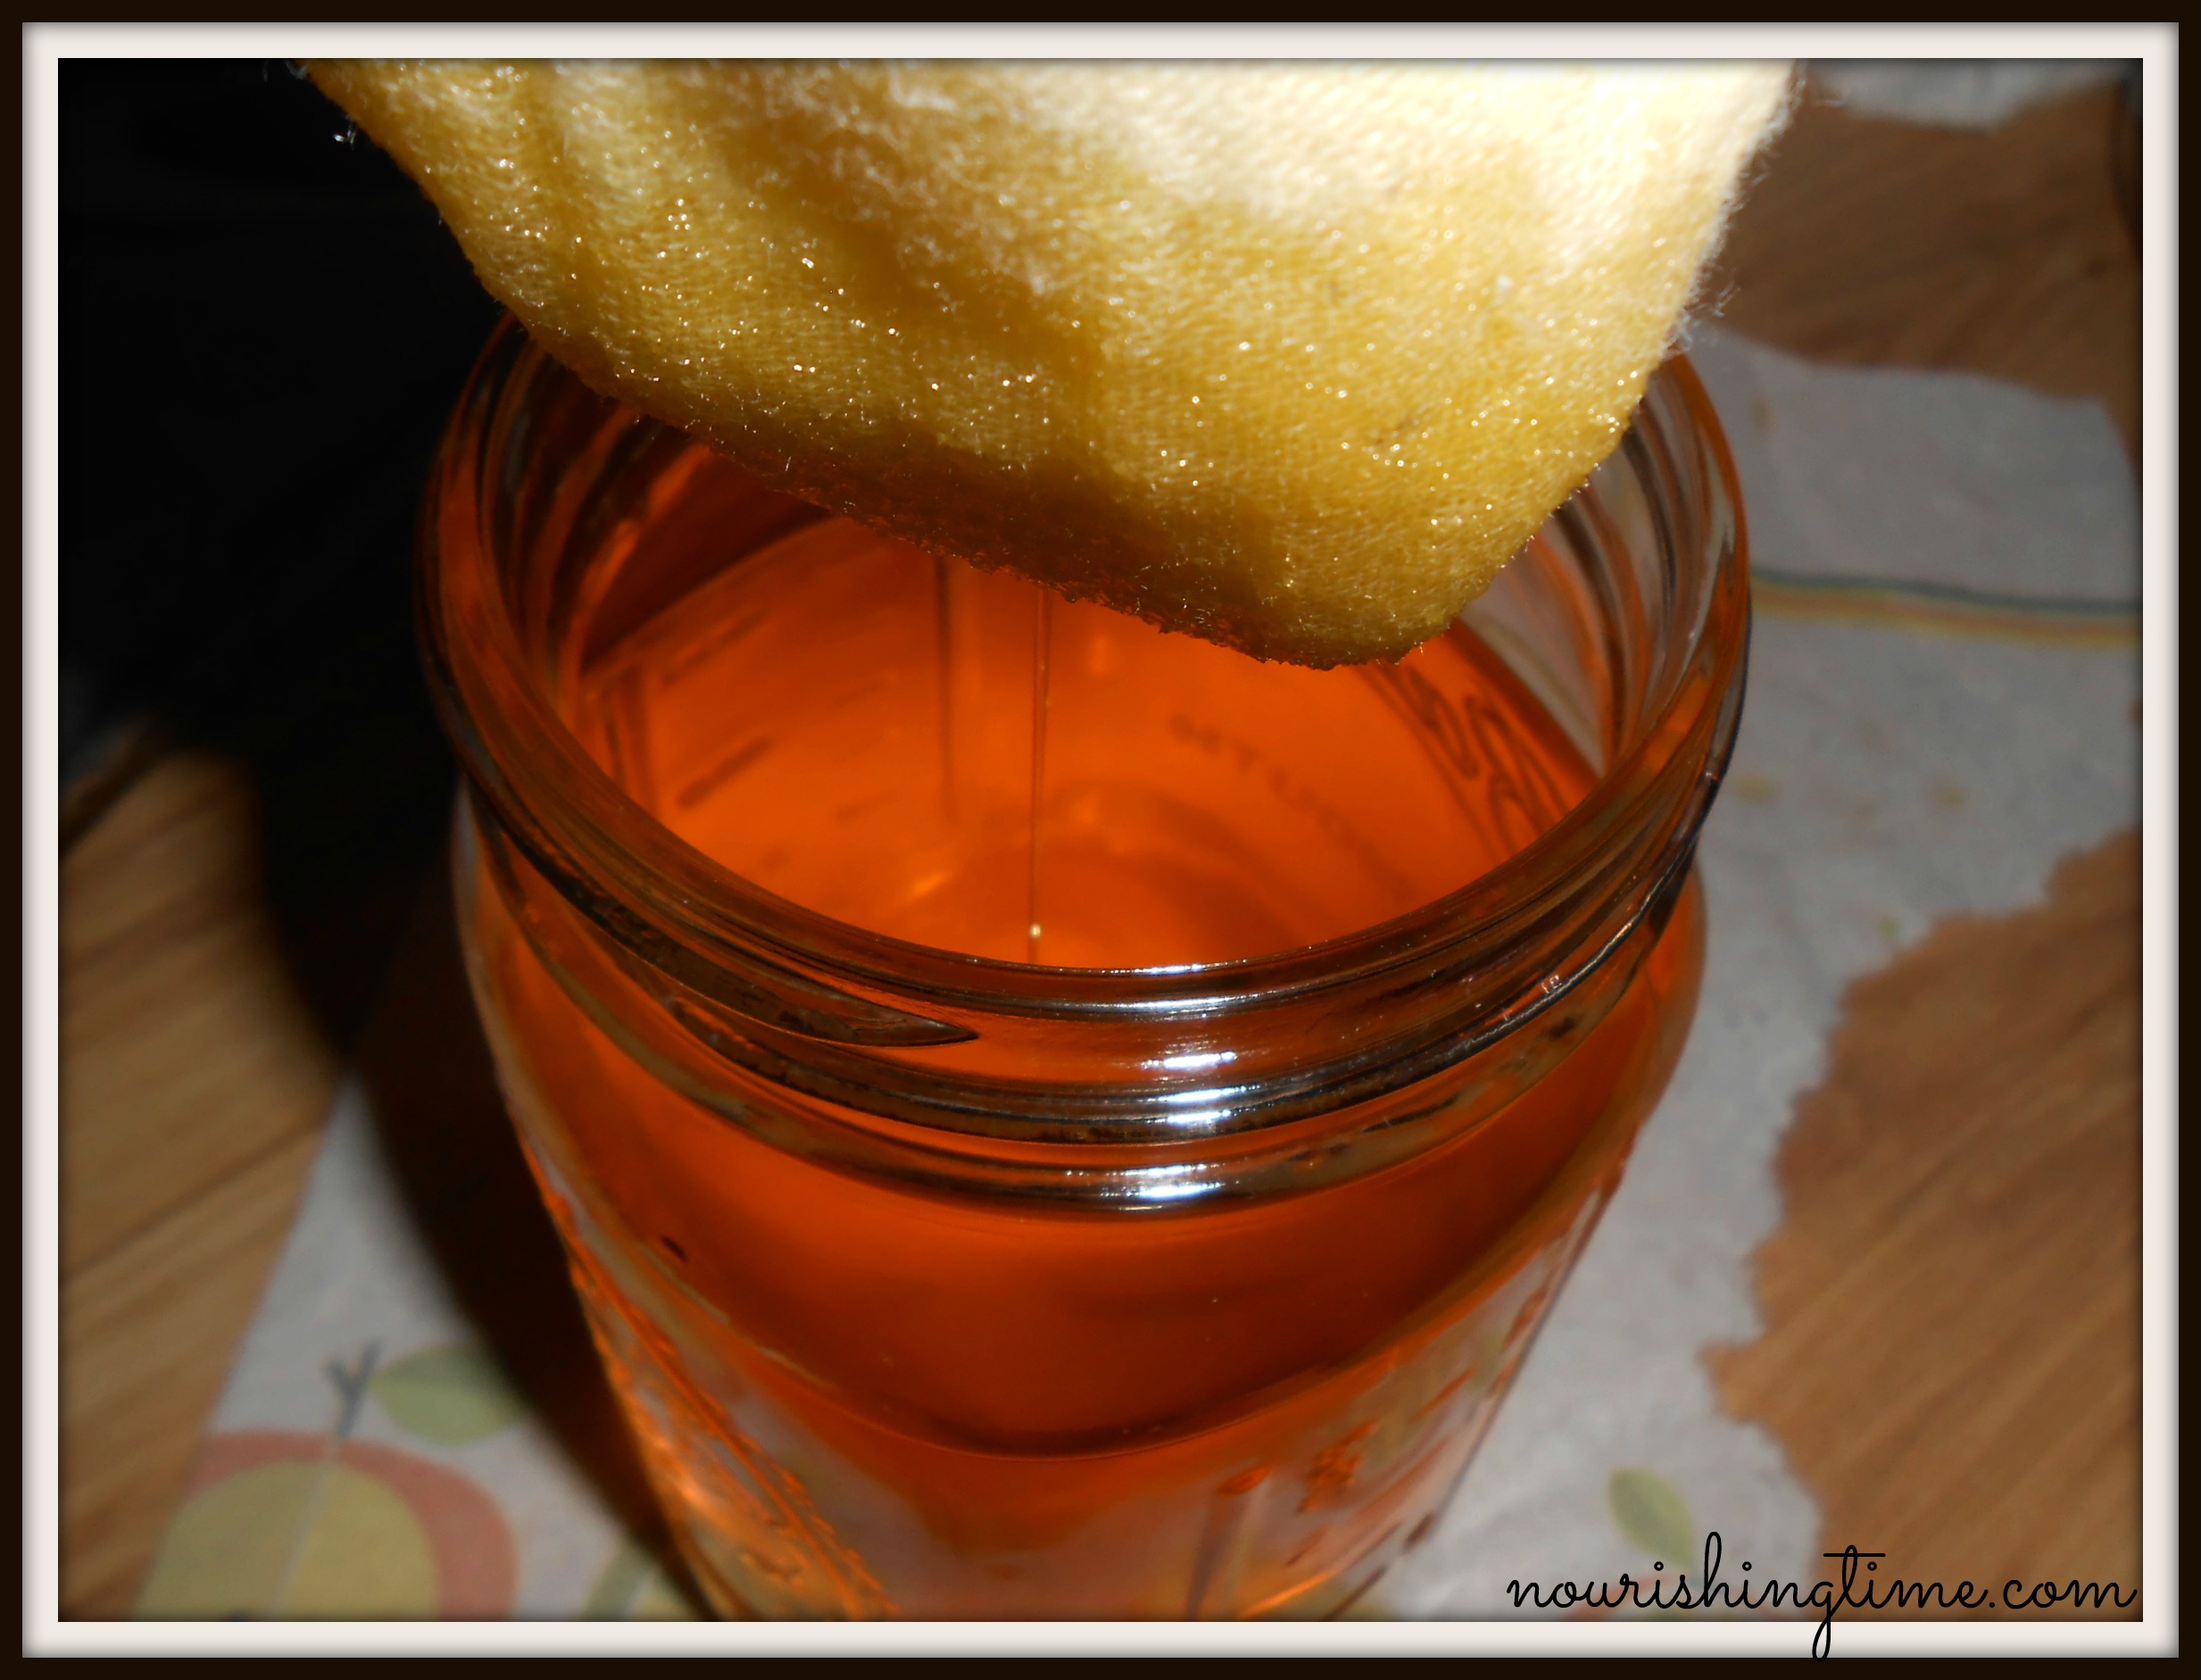
Pour cooled ghee through muslin to strain. Lift up muslin slowly to let rest of oil drain out, give a couple squeezes to get out as much oil as you can!
8. Tada!

This is actually a picture of the finished product of my first attempt at ghee.
I have a feeling I’ll be making ghee for years to come!
2020 Update: I still love to make and eat ghee. By the way, it’s great to have in in stock for hurricanes and other emergency situations, especially when you struggle with allergies.


10 Tips For Healing Tooth Decay - Nourishing Time
Saturday 21st of May 2022
[…] that you may be able to include soaked, sprouted and sourdough grain products with plenty of healthy saturated fats. Sourdough bread tastes better and reduces sugar, as well as many of the anti-nutrients in […]
Preparing for Hurricanes With Allergies/Real Food | Nourishing Time
Sunday 6th of December 2020
[…] Ghee […]