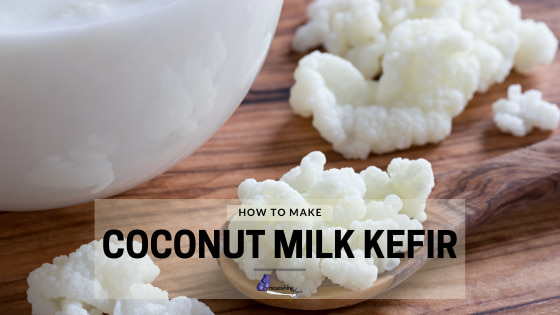
Coconut milk kefir is a delicious, vegan fermented coconut milk beverage. Similar to regular milk kefir, it is filled with a wide variety of strains of good bacteria that are beneficial for gut health. Read on to find out how to make coconut milk kefir and the benefits you’ll get from drinking it!

The good thing about coconut milk kefir is that it is vegan and dairy-free. For those who choose not to consume milk, as well as those who cannot because of an allergy, intolerance, or temporary restriction, having a dairy-free fermented beverage to enjoy really helps with delivering probiotics regularly.
Here are several benefits of coconut milk kefir:
- boost immunity
- provides probiotics
- reduces natural sugars in coconut milk
- high in healthy fat/medium-chain triglycerides (MCT)
- Great source of B vitamins, iron and selenium
- increased energy
- aids digestion of other foods
- promotes a healthy gut
- tastes delicious
- vegan/dairy-free source of probiotics and nutrients
In addition to these benefits, did I mention it is coconutty and delicious?
To make coconut milk kefir, you’ll need good quality coconut milk. You can choose a canned coconut milk or you can make your own coconut milk.
Related Posts:

You will also need milk kefir grains. These you’ll want to get in advance. You’ll want to get live kefir grains that are ready to use and active. If you also consume dairy, it is best to make a batch or two of regular milk kefir firs tot ensure your grains are alive and working properly.
Next you’ll want to use filtered water free of chlorine to gently rinse the milk kefir grains. Use the purest water you can, as you do not want to kill the milk grains. Once you have gently rinsed your milk kefir grains to remove dairy residue, rinse with coconut milk a couple times.
Next up, you’ll want to prepare your coconut milk. If you are using freshly made homemade coconut milk, you can proceed to the recipe card.
If you are using canned coconut milk, I recommend heating the coconut milk to at least 140 degrees Fahrenheit, then letting it cool to room temperature (around 80 degrees or lower). Canned coconut milk has a tendency to mold quickly.

Homemade Coconut Milk Kefir
Ingredients
- 16 oz coconut milk (or 1 15oz can)
- 4 large dates (cut in half)
- 1-2 tbsp
milk kefir grains
Instructions
- In a clean glass fermenting jar, put your kefir grains.
- Add the dates to the jar.
- Add the coconut milk to the jar.
- Close jar and let ferment for 12-24 hours.
- If your house is warm, check at the 12 hour mark. Your coconut milk kefir should have a tart taste, and the milk separating is normal. You can ferment up to 48 hours if necessary.
- Once your coconut milk kefir tastes perfect, strain and move to a clean glass jar and store in the fridge. Your coconut milk kefir should keep for approximately 2 weeks.


13 Non-Dairy Fermented Foods You Must Try - Nourishing Time
Tuesday 28th of June 2022
[…] Coconut milk kefir is made with coconut milk, and that’s it! Using real milk kefir grains, it’s best to add some dates now and then to help the grains thrive, but otherwise this is a super simple non-dairy ferment to make. […]